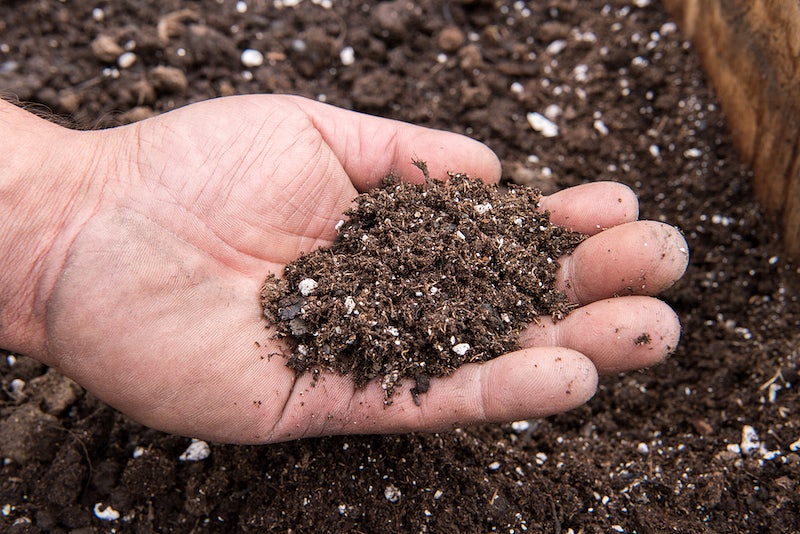
Sterilizing soil is an essential practice for gardeners and farmers who wish to eliminate harmful pathogens, pests, and weed seeds from the soil. By sterilizing the soil, you can prevent the spread of diseases and ensure a healthy, productive growing environment for your plants. While there are various methods to sterilize soil, including solarization and steam treatment, this article focuses on using chemicals for soil sterilization. Please note that chemical sterilization should be used with caution and only when absolutely necessary, as it can have adverse effects on the environment and beneficial soil organisms.
Chemicals for Soil Sterilization
There are several chemicals available for soil sterilization, each with its own advantages and disadvantages. Some of the most commonly used chemicals include:
- Methyl bromide – A highly effective fumigant for soil sterilization, but its use has been restricted in many countries due to its ozone-depleting properties and potential health risks.
- Chloropicrin – Often used in combination with other fumigants, chloropicrin is effective against soil-borne pathogens, pests, and weeds. However, it can be toxic to humans and animals and should be used with caution.
- Dazomet – A granular soil fumigant that breaks down into methyl isothiocyanate (MITC) in the soil, effectively controlling pathogens, pests, and weeds. Dazomet is less toxic than other fumigants but still requires careful handling and application.
- Metam sodium – A liquid fumigant that breaks down into MITC in the soil, providing broad-spectrum control of soil-borne pathogens, pests, and weeds. Metam sodium is less toxic than methyl bromide and chloropicrin but still requires proper handling and application.
Before choosing a chemical for soil sterilization, consult with a local agricultural extension agent or specialist to determine the most appropriate and effective option for your specific situation.
Step-by-Step Guide to Chemical Soil Sterilization
Follow these steps to effectively sterilize your soil using chemicals:
1. Soil Preparation
Before applying any chemical treatment, it is important to prepare the soil for optimal results. Remove any plant debris, rocks, or other materials from the soil surface. Till the soil to a depth of 6-8 inches (15-20 cm) to break up compacted areas and improve aeration. Ensure the soil has adequate moisture, as dry soil can reduce the effectiveness of chemical treatments.
2. Choose the Appropriate Chemical
Based on your specific needs and consultation with a specialist, choose the most suitable chemical for your soil sterilization. Be sure to read and follow all label instructions and safety precautions for the chosen product.
3. Apply the Chemical
Chemical fumigants are typically applied using specialized equipment designed to inject the chemical into the soil at a specific depth. For small-scale applications, some fumigants, such as dazomet, are available in granular form and can be incorporated into the soil manually or with a rototiller. When applying the chemical, ensure even distribution throughout the treatment area for optimal results.
4. Seal the Soil
After applying the chemical, it is crucial to seal the soil surface to prevent the fumigant from escaping into the atmosphere. This can be done by compacting the soil using a roller or by covering the treated area with a plastic tarp or film. Sealing the soil helps to maintain the concentration of the fumigant and ensures effective sterilization.
5. Wait for the Required Exposure Time
Each chemical fumigant has a specific exposure time required for effective soil sterilization. This can range from several hours to a few weeks, depending on the product and environmental conditions. During this time, the chemical will penetrate the soil and eliminate harmful pathogens, pests, and weed seeds. Be sure to follow the recommended exposure time for the chosen product, as insufficient exposure may result in incomplete sterilization.
6. Ventilate the Soil
Once the required exposure time has elapsed, it is important to ventilate the soil to allow any remaining fumigant to dissipate. Remove any plastic coverings and till the soil to a depth of 6-8 inches (15-20 cm) to facilitate aeration. Depending on the chemical used, there may be a specific waiting period before planting to ensure the safety of the plants and the environment. Consult the product label or a specialist for guidance on the appropriate waiting period.
7. Monitor and Test the Soil
After completing the chemical sterilization process, it is essential to monitor the soil for any signs of remaining pathogens, pests, or weeds. Conduct soil tests to assess the effectiveness of the treatment and determine if any additional measures are needed. Regular monitoring and testing can help identify potential issues early and ensure a healthy growing environment for your plants.
Precautions and Considerations
Chemical soil sterilization can be an effective method for controlling soil-borne pathogens, pests, and weeds, but it should be used with caution. Some chemicals can have adverse effects on the environment, beneficial soil organisms, and human health. Always follow label instructions and safety precautions when handling and applying chemical fumigants. Consider alternative methods, such as solarization or steam treatment, for a more environmentally friendly approach to soil sterilization.
By following this step-by-step guide and using chemicals responsibly, you can effectively sterilize your soil and create a healthy, productive environment for your plants.


Leave a Reply