

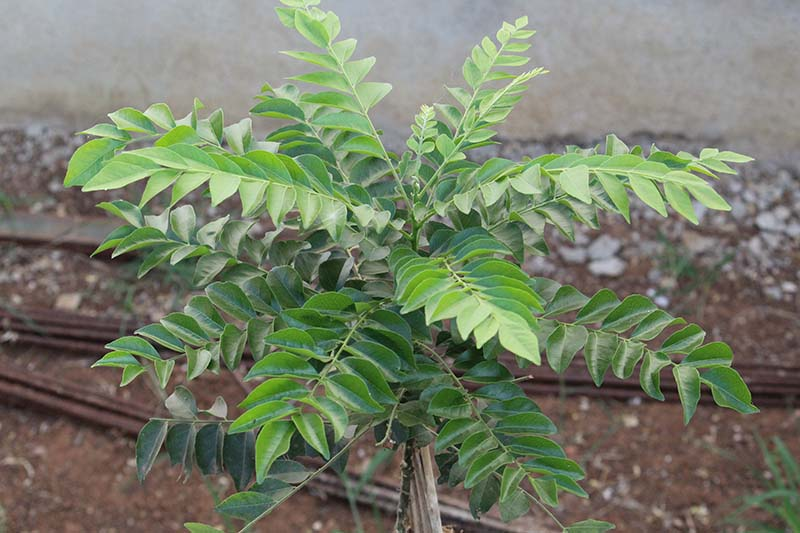
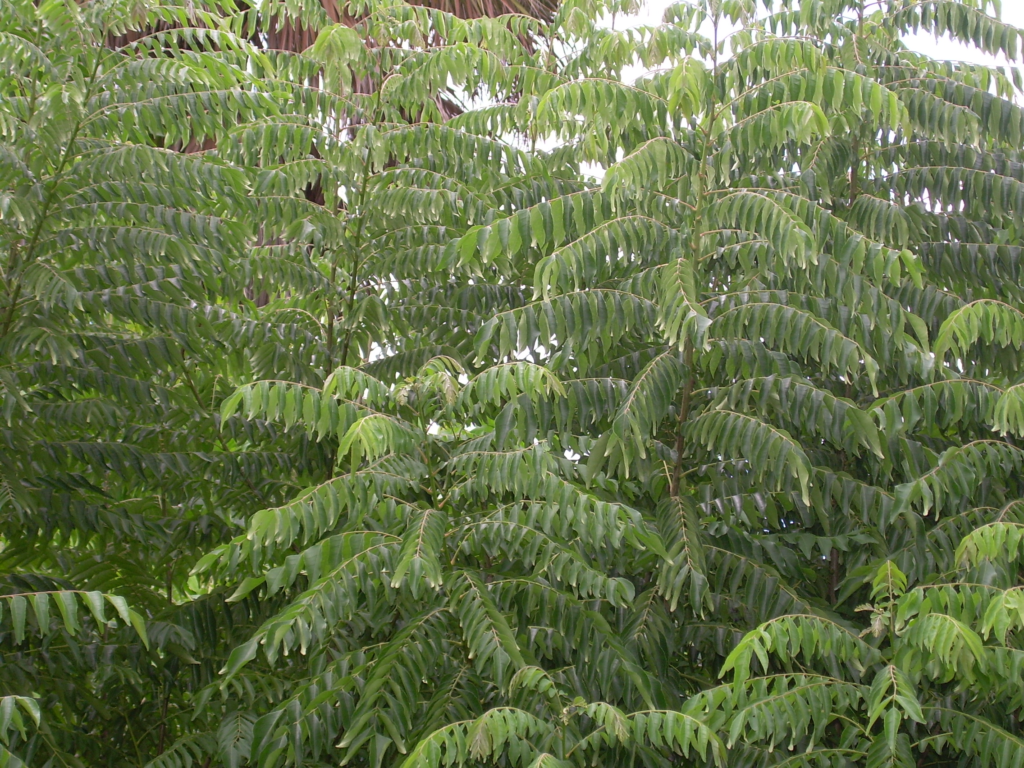
The curry plant (Murraya koenigii), also commonly known as the curry leaf tree or sweet neem, is an aromatic, evergreen tree native to the Indian subcontinent. It is a staple ingredient in South Asian cuisines, as the fresh leaves lend a unique and robust flavor to curry dishes and stir-fries. Besides their culinary uses, curry leaves are also highly valued for their medicinal properties in traditional medicine. If you’re keen on adding curry plants to your home garden, growing them from cuttings can be a rewarding venture.
In this comprehensive guide, we will explore the various aspects of growing curry plants from cuttings, including selecting healthy parent plants, taking and preparing cuttings, successfully rooting them, and nurturing them until they are ready to be transplanted into the ground or a large container.
Selecting and Preparing Curry Plant Cuttings
Choose a healthy parent plant
When growing curry plants from cuttings, the first step is to identify a healthy and mature curry plant that has abundant growth, as this will ensure a higher likelihood of success. Ideally, select a plant that is at least two years old, with strong, disease-free branches.
Take your cuttings
The best time to take cuttings is during the early morning when the plant’s moisture content is at its peak. Choose semi-hardwood branches that are about 6-8 inches (15-20 cm) in length, and at least as thick as a pencil. Using a sharp, clean pair of pruning shears, make a clean 45-degree angle cut, just below a leaf node. Remove the lower leaves and any flowers or flower buds from the cutting, as this will promote root growth.
Prepare the cuttings
To prevent rot and infection, it’s essential to clean the cuttings. Dip the base of the cutting in a solution of water with a few drops of dish soap. Rinse it thoroughly to remove any dirt or debris.
Use root-promoting hormones
Though not essential, applying a rooting hormone to the base of the cutting can significantly enhance root growth and increase the success rate. Dip the base of the cutting (about 1-2 inches) into a rooting hormone powder, and tap off excess powder.
Planting and Rooting Curry Plant Cuttings
Choose the right planting medium
Successful rooting of curry plant cuttings can be achieved in a sterile, well-draining medium. A popular and effective mixture is a 50/50 blend of perlite and peat moss or coconut coir. You can also use pure perlite or sand.
Fill your container with planting medium
Select a container that is at least 4-6 inches (10-15 cm) deep and with drainage holes at the bottom. Fill the container with your selected planting medium, and gently firm the surface.
Plant the cuttings
Create a hole in the medium using a stick or a pencil, and insert the base of your prepared cutting into the hole, at least 2-3 inches deep. Firmly press the medium around the cutting to ensure good contact. Plant each cutting 2-3 inches (5-7.5 cm) apart, and if using multiple containers, arrange them 6-8 inches (15-20 cm) apart.
Water and cover
Thoroughly moisten the medium in the container, and cover it with a clear plastic bag, creating a mini-greenhouse. This will help maintain high humidity, which is crucial for successful rooting.
Place in an appropriate location
Keep your containers in a warm, well-lit location, with indirect sunlight. Avoid direct sunlight, which can overheat the cuttings and lead to poor rooting. The ideal temperature for rooting curry plant cuttings is 70-80°F (21-27°C).
Monitoring and Nurturing Curry Plant Cuttings
Monitor moisture and humidity
Check on your cuttings regularly, ensuring that the medium remains moist but not waterlogged. Open the plastic bag to let in fresh air and prevent fungal growth, and mist the cuttings and medium if needed.
Check for root growth
Curry plant cuttings will generally take about 6-8 weeks to show signs of root growth. To assess root development, gently tug at the cutting. If there is resistance, it’s an indication of successful rooting. You can also carefully remove the cutting from the medium to observe root growth.
Transplant after rooting
Once your curry plant cuttings have developed a solid root system (with roots at least an inch long), they are ready for transplantation. Gently remove them from the rooting medium, and transplant them into individual pots filled with a well-draining potting mix, or directly into the garden if conditions are appropriate.
Nurture the young plants
Water the young curry plants regularly, and provide them with a balanced, slow-release fertilizer. In colder climates, it’s important to protect the young plants from frost.
Prune for shape and growth
Prune the young curry plants to encourage bushy growth, and pinch off the tip once they reach a height of 12-18 inches (30-45 cm) to promote branching.
In Conclusion
Growing curry plants from cuttings is an accessible and rewarding method for home gardeners interested in cultivating this aromatic and versatile plant. By carefully selecting and preparing cuttings, providing a suitable rooting environment, and diligently nurturing the young plants, you can ensure a successful transition from cutting to thriving curry plants. Remember that patience and consistency in monitoring and caring for the plants is vital to achieving the desired outcome. The end result of your efforts will be a flourishing curry plant that not only adds a unique and authentic flavor to your culinary dishes but also brings therapeutic benefits and aesthetic appeal to your garden. Embrace the challenge of growing curry plants from cuttings and experience the joy of transforming a simple branch into a full-fledged, flavor-enhancing plant.
Leave a Reply