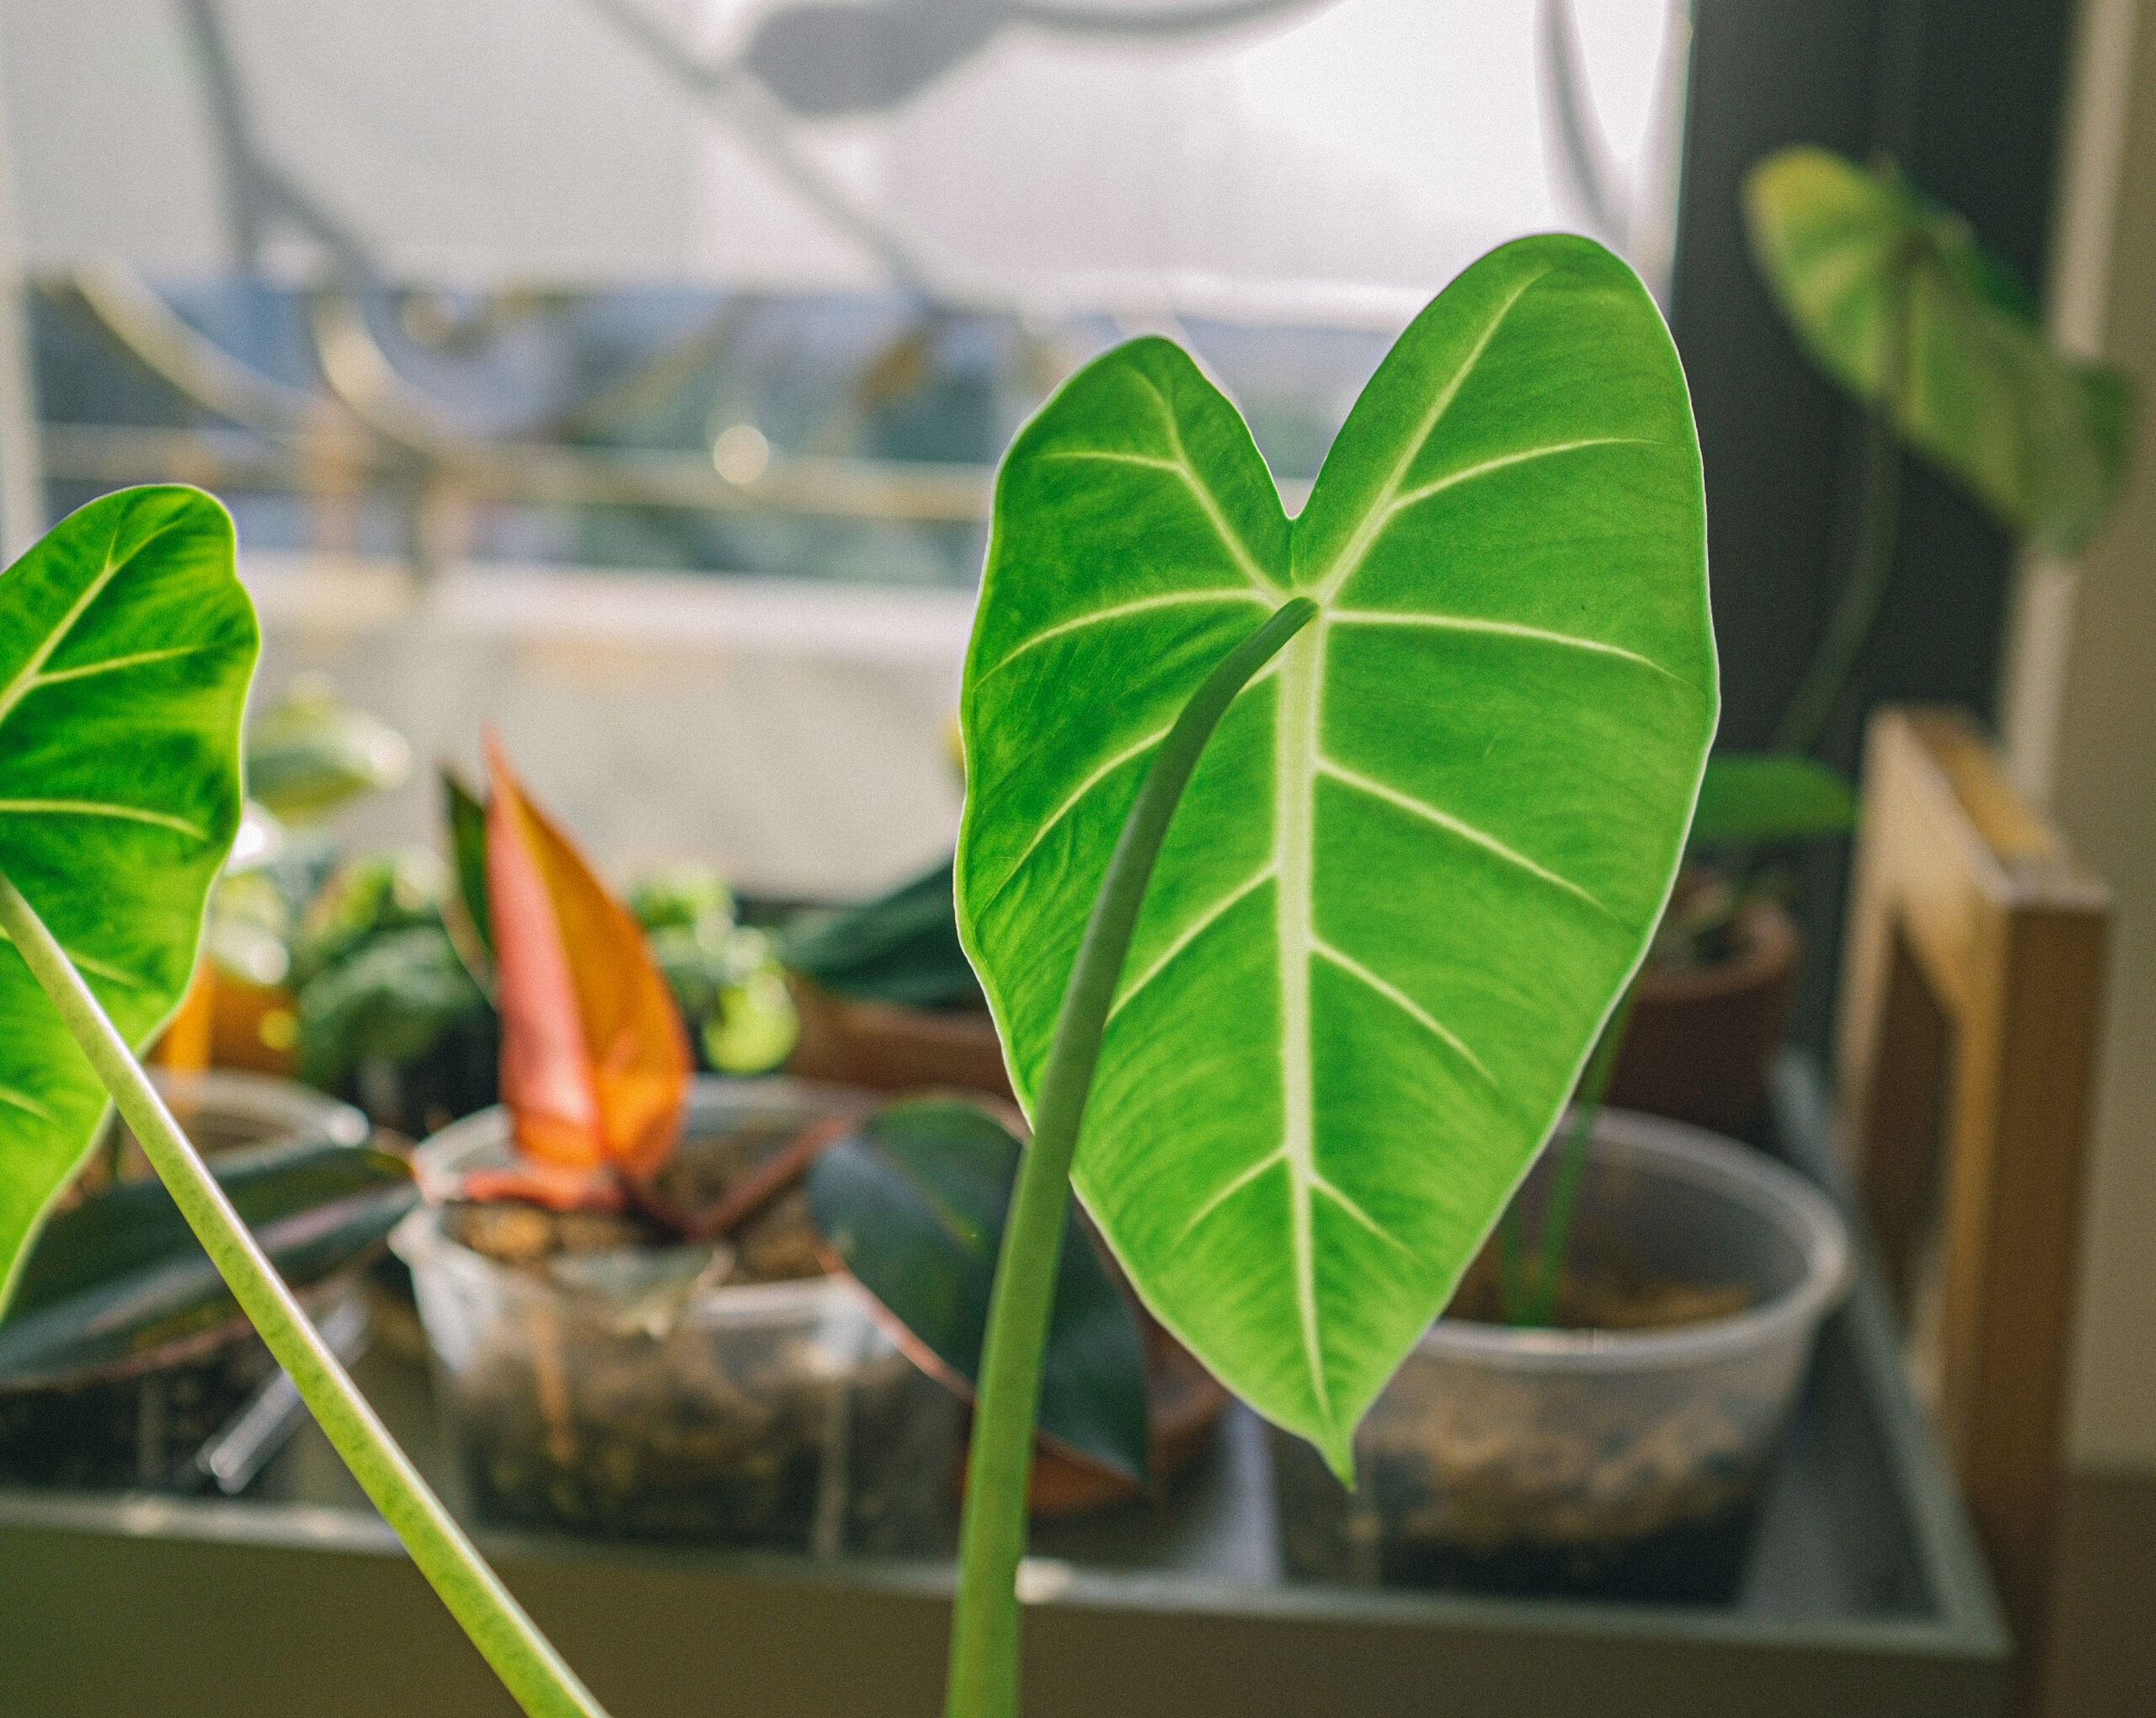
Caring for Alocasia plants extends deeper than one might think – right down to their roots. These dramatically beautiful plants have specific requirements, and one commonly raised question is whether Alocasias prefer to be root-bound. This guide, “Do Alocasia Plants Want to Be Root Bound?”, explores this subject extensively. Combining scientific knowledge with practical advice, we aim to debunk myths and reveal essential insights to help you navigate the root-bound debate effectively for your Alocasia’s best health.
Understanding Alocasia Root Systems
Alocasia plants have a unique root system known as a rhizome. A rhizome is a horizontal, underground stem that produces both roots and shoots. This type of root system allows Alocasia plants to store water and nutrients, making them more resilient in times of drought or other unfavorable conditions.
Because of their rhizomatous root system, Alocasia plants have different preferences when it comes to pot size and root space compared to other houseplants. While some plants may prefer to be root bound, Alocasia plants generally do not.
Alocasia Plants and Root Bound Conditions
A plant is considered root bound when its roots have completely filled the pot, leaving no room for further growth. In some cases, plants can thrive in these conditions, as the limited space can encourage blooming or more compact growth. However, this is not the case for Alocasia plants.
Alocasia plants prefer to have some room for their roots to grow and expand. When they become root bound, they can experience several issues, including:
- Stunted growth: As the roots have no room to grow, the overall growth of the plant may slow down or stop altogether.
- Nutrient deficiency: With limited soil available, the plant may struggle to access the nutrients it needs to thrive.
- Watering difficulties: A root bound Alocasia plant may have trouble absorbing water, leading to dehydration and wilting.
- Increased risk of pests and diseases: Stressed plants are more susceptible to pests and diseases, which can further weaken the plant.
Signs Your Alocasia Needs Repotting
It is essential to monitor your Alocasia plant for signs that it may need repotting. Some indications that your plant is becoming root bound or outgrowing its pot include:
- Roots growing out of the drainage holes or appearing on the soil surface
- Slowed or stunted growth
- Yellowing leaves
- Difficulty in keeping the plant hydrated
- The plant becoming top-heavy and unstable in its pot
How to Repot Your Alocasia Plant
If you notice any of the signs mentioned above, it’s time to repot your Alocasia plant. Here’s a step-by-step guide to repotting:
- Choose the right pot: Select a pot that is 1-2 inches larger in diameter than the current pot. Ensure that it has drainage holes to prevent waterlogging.
- Prepare the new pot: Fill the new pot with a layer of well-draining potting mix. A mix containing peat, perlite, and bark works well for Alocasia plants. You can also add slow-release fertilizer to provide nutrients for the plant.
- Remove the plant from its current pot: Gently loosen the soil around the edges of the pot with your fingers or a blunt tool. Carefully tip the pot and slide the plant out, supporting the base of the plant and its root system.
- Inspect the roots: Check the root system for any signs of rot, pests, or damage. Trim away any unhealthy roots with a clean, sharp pair of scissors.
- Place the plant in the new pot: Position the plant in the center of the new pot, ensuring that the top of the root ball is about 1 inch below the pot’s rim. Fill in the gaps around the root ball with more potting mix, gently pressing the soil down to eliminate air pockets.
- Water the plant: Water the newly repotted Alocasia plant thoroughly, allowing the excess water to drain out of the drainage holes. This will help to settle the soil and establish the plant in its new pot.
Ongoing Care for Your Alocasia Plant
After repotting, it’s essential to provide the proper care for your Alocasia plant to ensure its continued health and growth. Here are some key care tips:
- Light: Alocasia plants thrive in bright, indirect light. Avoid direct sunlight, as it can scorch the leaves.
- Water: Keep the soil consistently moist but not waterlogged. Water when the top inch of soil feels dry to the touch. Make sure the pot has proper drainage to prevent root rot.
- Humidity: Alocasia plants love humidity. Place a humidifier nearby, group it with other humidity-loving plants, or set the pot on a tray of pebbles filled with water to increase humidity levels.
- Fertilizer: Fertilize your Alocasia plant every 4-6 weeks during the growing season with a balanced, water-soluble fertilizer. Dilute the fertilizer to half the recommended strength to avoid burning the roots.
In Conclusion
Alocasia plants do not prefer to be root bound and require adequate space for their rhizomatous root systems to grow and thrive. By monitoring your Alocasia plant for signs of outgrowing its pot, repotting when necessary, and providing the proper ongoing care, you can enjoy a healthy, vibrant Alocasia plant that will continue to grow and impress.


Leave a Reply